Manual billing
Managers Partners Billers
This example will run through how to set up the job and then how to draft and confirm the bill. It is assumed that the process of creating a job on a client is known. It uses an Allocation type of Manual per Bill.
Setting the Job Details
-
Create a new job on a client and open the Job Details.
-
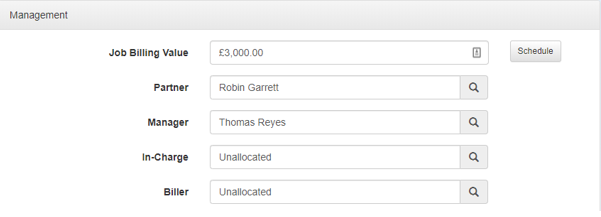
Although a manual job does not require a Job Billing Value, it is advisable to enter one. Select the Management panel and enter a Job Billing Value - this is the value that was agreed with the client. For manual bills it is not used during the billing process.
-
Save any changes that have been made.
-
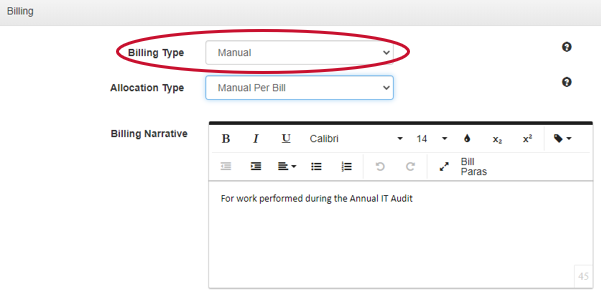
Select the Billing panel from the Job details. Set the Billing Type to be Manual:
-
Select the required Allocation Type. For jobs that are going to be ongoing with no end date, the suggested Allocation Type is Manual Per Bill. This will allow the WIP to be analysed at the individual transaction level if required but will also create an allocation against each bill without requiring the job to be closed.
-
If the Narrative on the draft bill is going to be built 'By Job' during the drafting process, enter a Billing Narrative - this is the narrative that will then appear on the draft bill. For Manual bills this is not essential but can simplify the drafting of the bill.
-
Enter any further details, that may be required. The Billing Email, Billing Layout and Automatic Email Bills to will only apply if doing a Single Job bill.
-
Save any changes made.
Drafting the Bill
The bill can be drafted from several places:
-
The Client Dashboard, using the bills dashlet
-
The New Draft Bill page within the Client Menu
-
The Client, Service or Job Ownership portfolios within the Billing portfolio
-
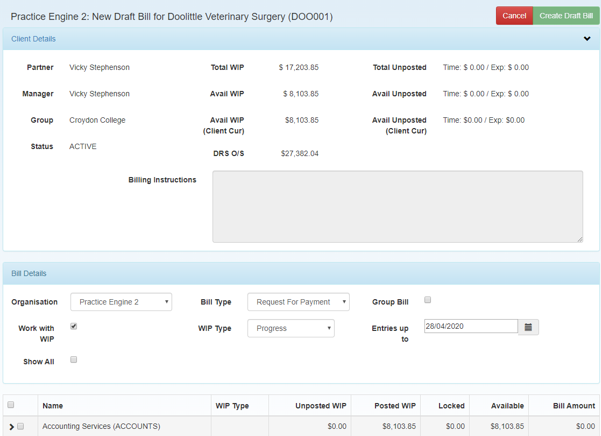
When selecting to draft the bill, the New Draft Bill Details page displays:
-
The top section of the page contains information relating to the client details and the available WIP, along with any Bill Instructions that may have been entered onto the client's WIP/Billing page.
-
The Bill Details section contains various options that will affect the bill creation. The default settings will be displayed but can be overridden if required and if the user has the relevant permissions.
-
For a Manual Bill, ensure that the Bill Type is set as Progress (the default option). This will keep the included jobs open for further work.
-
At the bottom of the page, the list of Manual Jobs with available WIP will be displayed.
-
Select the Job(s) to be included in the bill. Once at least one job has been selected, the Create Draft Bill button will be enabled. Click Create Draft Bill to open the Draft Bill Wizard.
-
The Draft Bill Wizard comprises of four standard tabs:
-
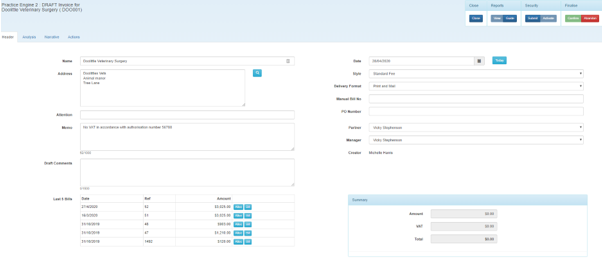
Header: displays the client details as well as options to set the bill date, the layout to be used, the delivery format and the Bill Partner and Manager.
-
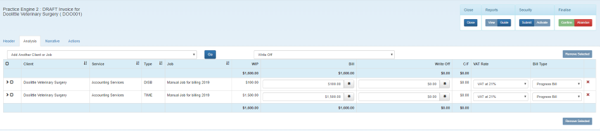
Analysis: displays the WIP that is available on the bill and allows the amounts to be billed to be set.
-
Narrative: allows for the wording of the bill to be entered
-
Actions: allows for any attachments that will go with the bill to be added.
-
-
Click the icon to open a dialog that will display all associated addresses with the client. Select an alternative address if required.
-
The Last 5 Bills section will display the last 5 bills raised against the client. Options are available to view the bill or to view the WIP allocation associated with that bill.
-
The Bill Partner and Manager will default to the Client Partner and Manager unless a single job has been selected, in which case the Bill Partner and Manager will be set to match the Job Partner and Manager.
-
Edit any details as necessary.
-
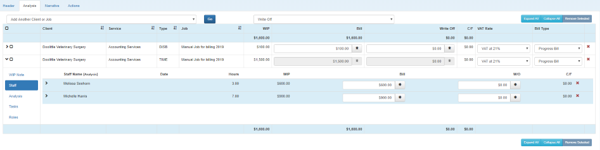
On the Analysis tab, if the Allocation Type against the job has been set to Manual Per Bill it is possible to expand the Job to display the WIP transactions grouped by Staff, Analysis, Task or Role. For all other allocation types the lines can be expanded to view the WIP but the allocated bill amounts cannot be changed.
-
Enter the amount to be billed into the Bill field. Adjust the Write Off amount if required, any Carry Forward will be automatically calculated. Repeat for all jobs that are included in the Draft Bill. Hovering over the Job will display a tooltip of the Billing Type and Allocation Type of the job.
-
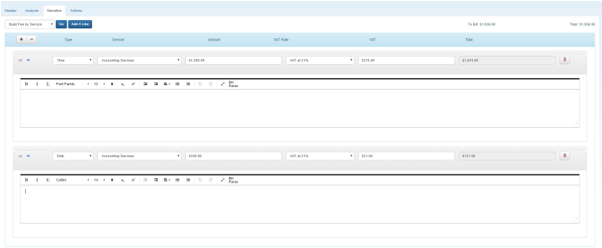
On the Narrative tab, enter the wording of the bill. Select a Build Bill By... option from the drop-down and click Go. This will create a narrative section for each Service, Type, Staff Member, Job or Client/Job that is included on the Analysis tab of the bill.
-
Enter the wording that is required into each narrative section of the bill. Rich Text formatting can be applied.
-
Click the Bill Paras link to open the Bill Paragraphs dialog where it is possible to choose from either previously used bill paragraphs for the client or from a list of standard bill paragraphs (if set up).
-
The amounts that are displayed are generated based on the Analysis tab. The values on the Narrative tab can be adjusted but the total must match the total of the Analysis tab. This is indicated by the two figures in the right corner of the Narrative tab.
-
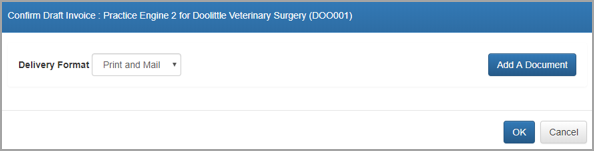
On the Actions tab, click Add A Document to add any attachments. Only PDF attachments can be printed with the bill. Other attachment types can be added to the bill for reference purposes.
-
The Delivery Format can be changed if required.
Submitting and Confirming the Bill
The bill cannot be confirmed until it has been Submitted. The Submit action will run through any policy checks that are in place and indicate if there are any problems with the bill.
-
Click Submit.
-
Once submitted, the Confirm button will become available. If the bill is to be confirmed straight away, click Confirm.
-
A Confirm Draft bill dialog displays. Click OK to confirm the draft bill: