Complete and submit expenses
Your expenses can be accessed from the Home dashboard or by selecting Expenses from the navigation menu.
The Expenses dashboard displays all expense claims for the Current Claim Period.
This section covers how to:
Add a new expense claim
-
From the Expenses dashboard, select the Add Expense icon from the top right corner. The Add Expense screen is opened.
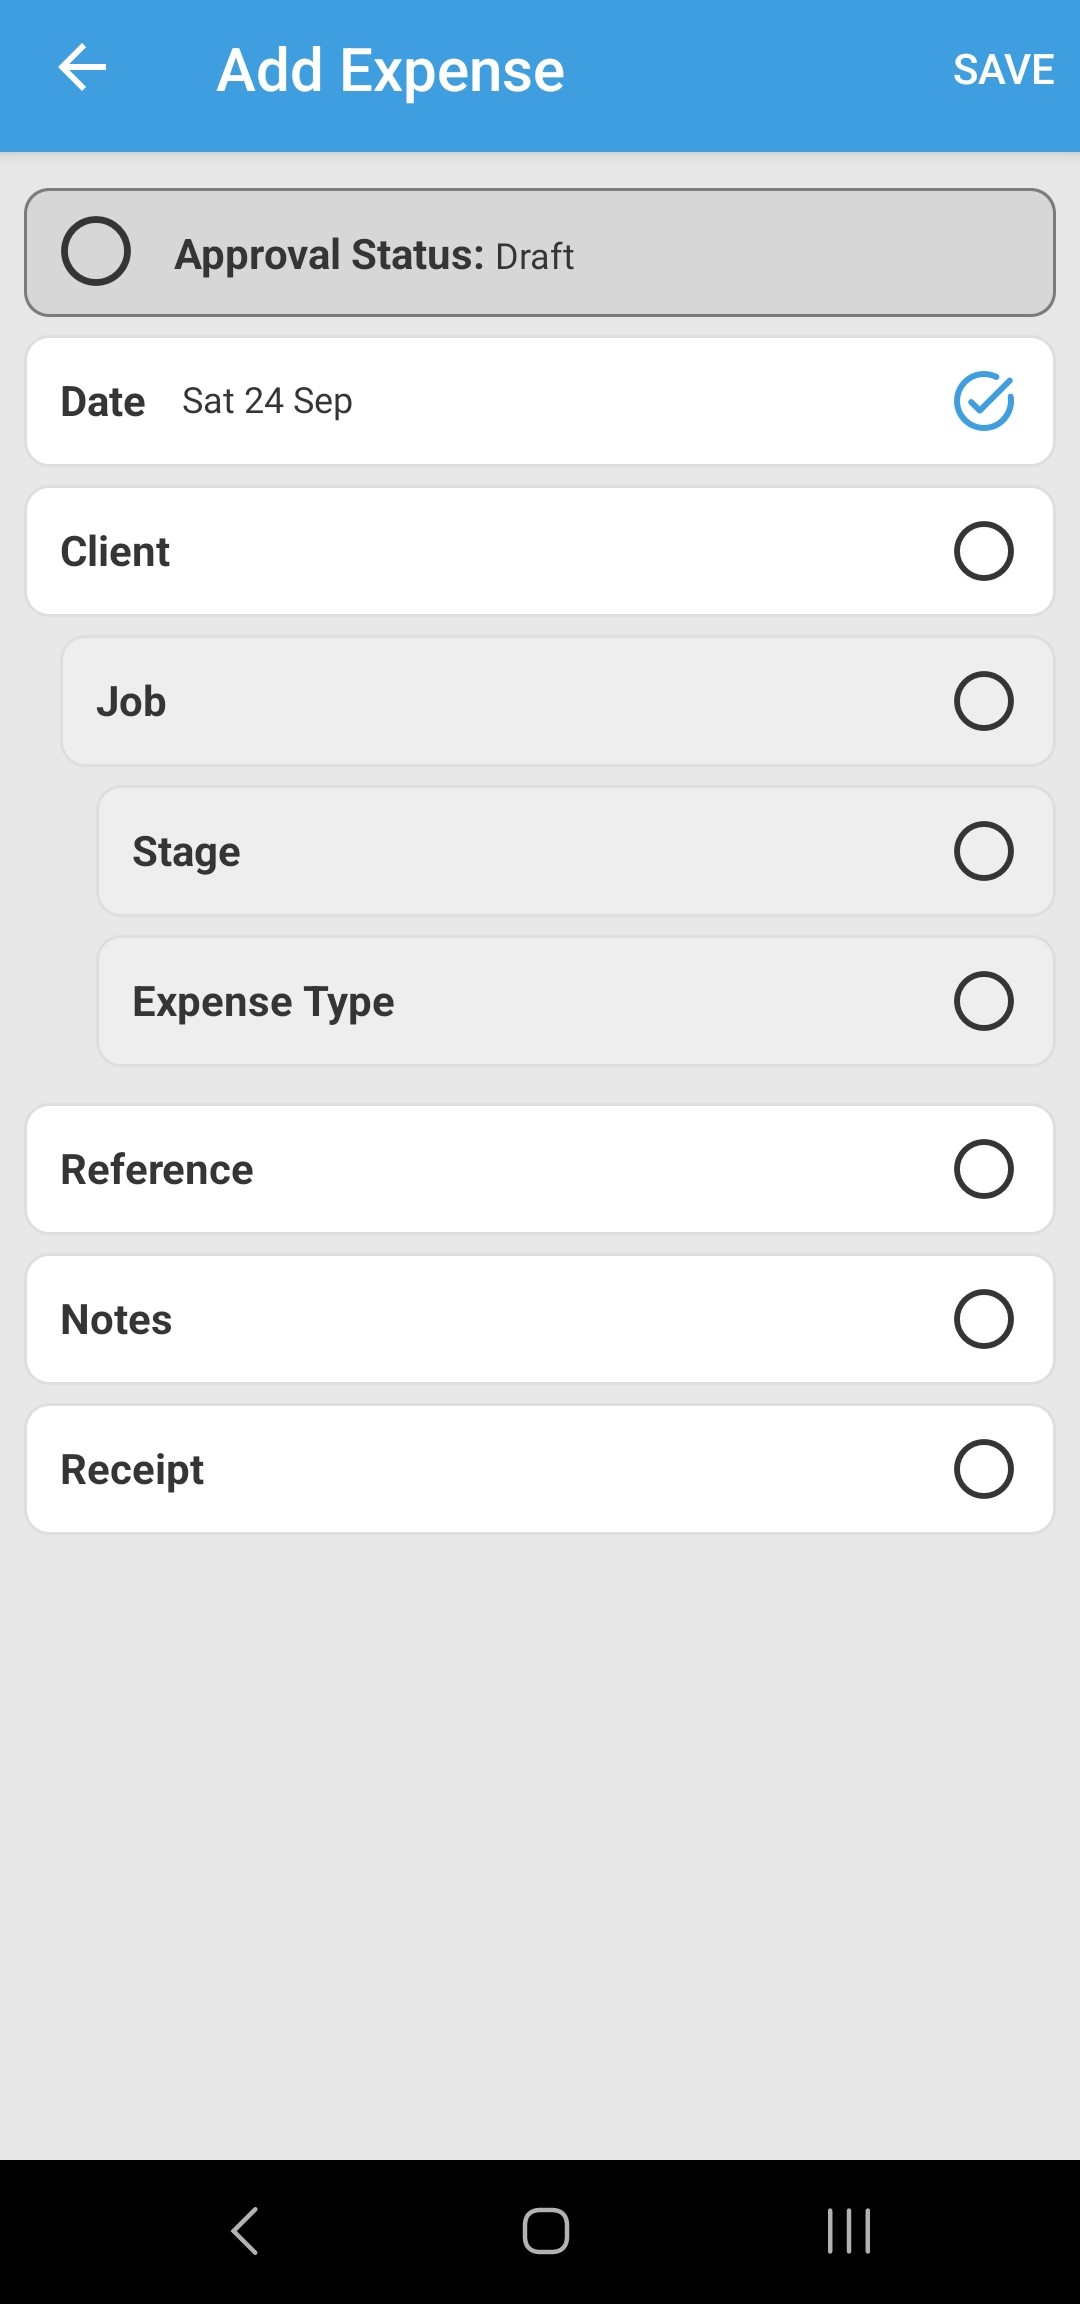
-
Select the Date for the expense from the calendar. The current date will be chosen by default.
-
Select a Client. You can Search for Clients or choose one from your Recent or Favourites.
-
Select the Job that relates to this expense claim.
-
If required, select the Stage.
-
Select the Expense Type and then the Units and select the Rate checkbox. The Repaid information will be populated automatically.
-
-
Enter a Reference.
-
Enter any Notes you want to attach to this expense claim and select Confirm. You can select to copy any Recent Notes you have made.
-
Attach a Receipt for your claim.
You can Select Existing File from your mobile phone or Take a Photo.
If you select to Take a Photo you may have to give Star Mobile permission to access your photos and camera.
Once a receipt is uploaded, you can view it by selecting the eye icon, or delete it by selecting the bin icon.
-
Select Save to finish.
Submit expenses
-
From the Expenses dashboard, select the Submit/Recall button.
-
Use the checkboxes to select which expense claims you wish you submit.
-
Select Submit.