Submit timesheets
Your timesheets can be accessed from the Home dashboard or by selecting Timesheets from the navigation menu.
The Timesheets dashboard displays timesheets for the current period. Entries are color coded to show which have been Added and which have been Approved.
This section covers how to:
Add a new timesheet entry
-
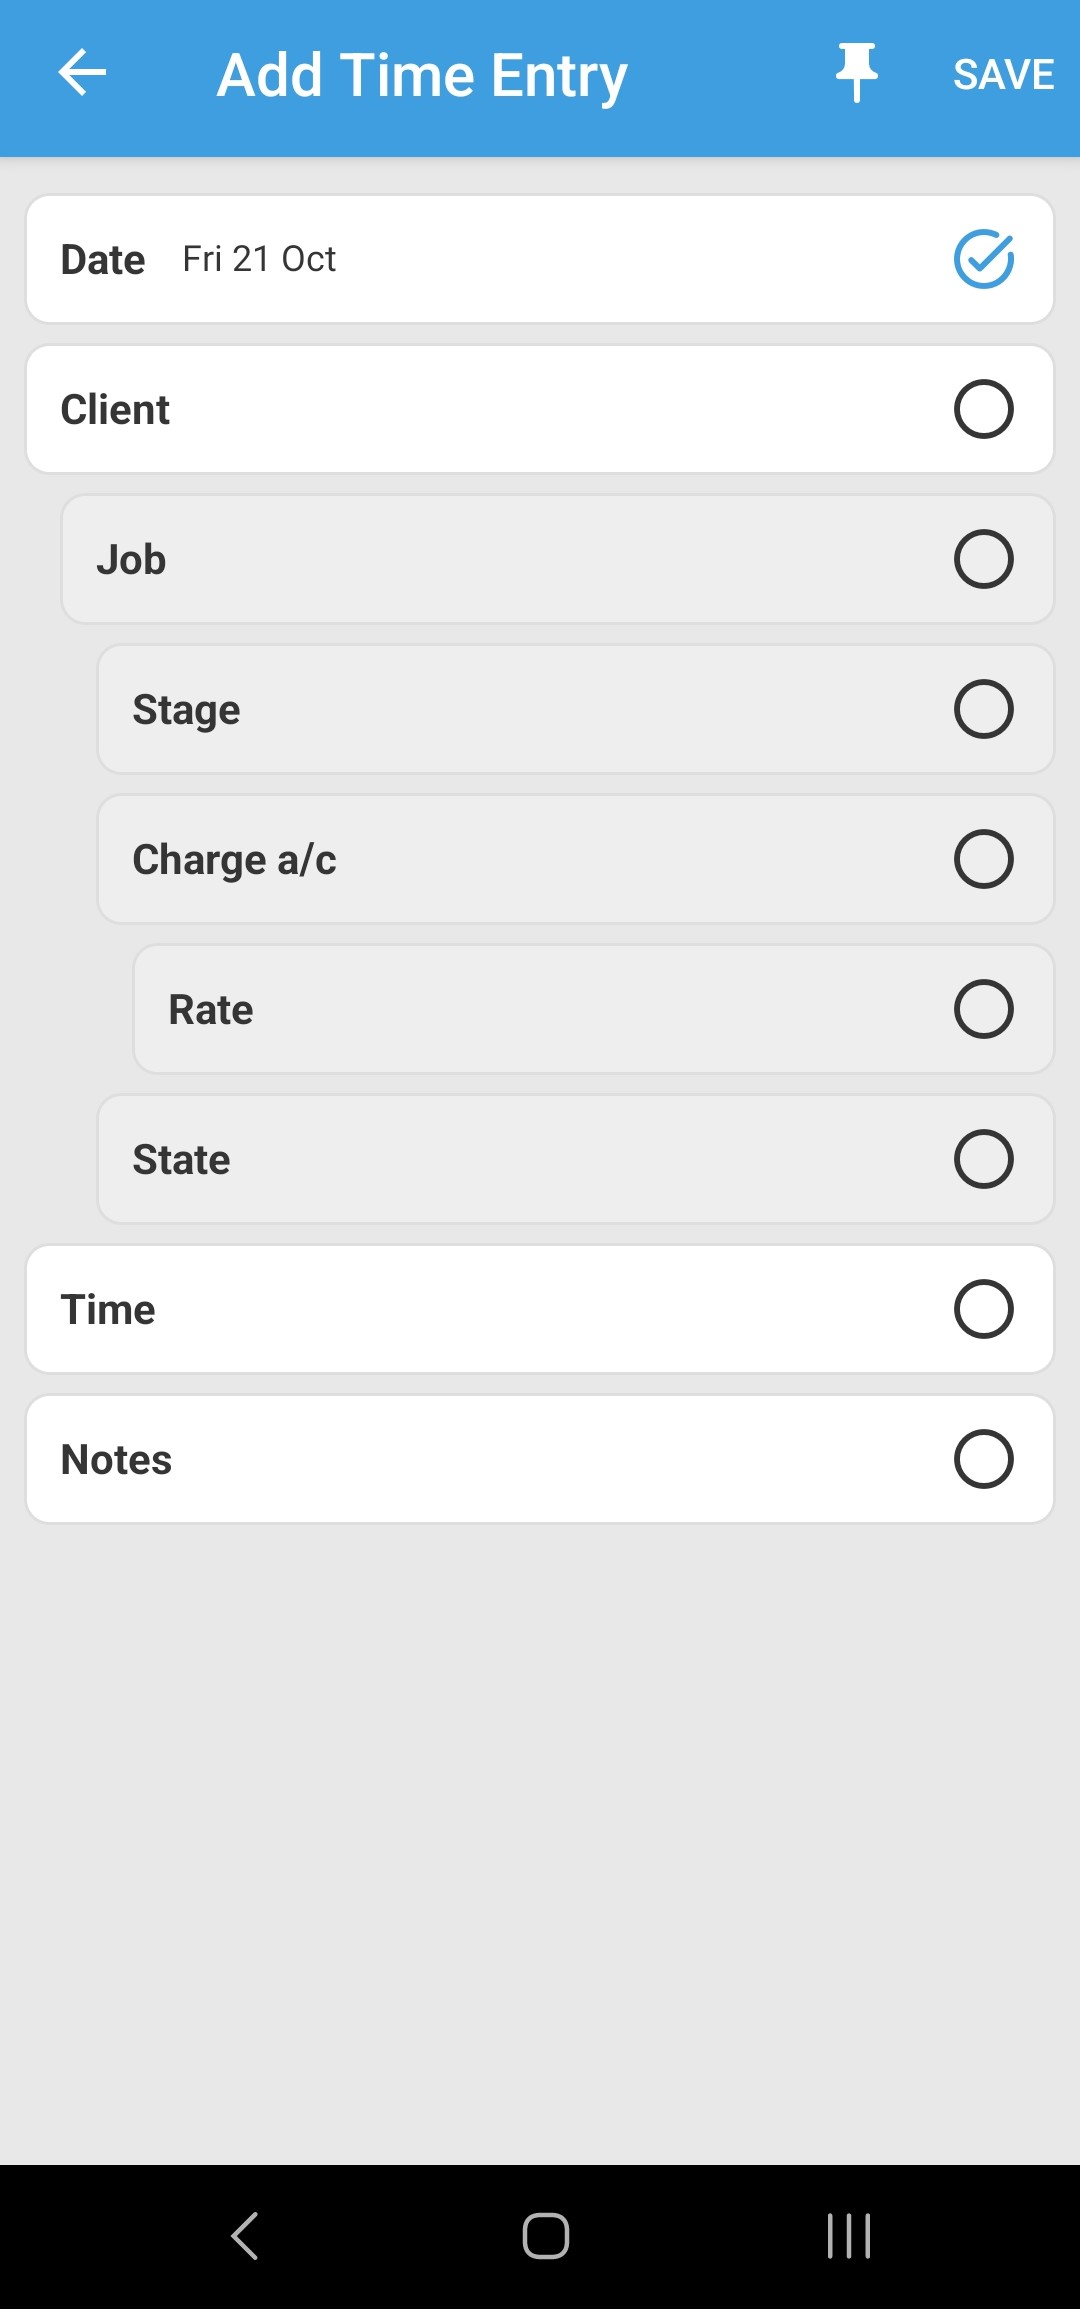
From the Timesheets dashboard, select the Add Time icon in the top right corner of the screen. The Add Time Entry screen is opened.

-
Enter the Date by selecting the required date from the calendar and then OK. The current day is selected by default.
-
Select the Client against which this time should be recorded. You can Search or select a client from your Recent entries or Favourites.
-
Select the Job relating to this time entry. You can Search for the right job or select one from your Recent or Favourites.
-
If required, select the Stage, Charge Account and subsequent Rate for the Job.
-
Select the State related to this Job.
-
-
Enter the Time. You can type the time entry manually into the Enter a time box or select one of the presets available.
-
Enter any Notes you would like to attach to this time entry.
-
Once all required sections are complete, select Save.
-
Select the Pin icon to pin this entry for future access.
-
Edit a timesheet entry
-
From the Timesheets dashboard, select the Time Entry you wish to edit.
-
Select the section you wish to edit and make the necessary changes.
-
Select Save.
Submit timesheet entries
-
From the Timesheets dashboard, make sure that all timesheet entries have been completed correctly.
If your entered time does not match the Required time, the Remaining time value will be displayed in red. If all time entries are correct, the entry will be displayed in green.
-
When you are ready, select Submit.