Billing on job completion
Managers Partners Billers
Pre-defined bills are those where the billing amount, narrative and other details have been set up ahead of time on the Job. These details are used when drafting the bill from the Job Billing portfolio within the Billing portfolio.
The Based on Job pre-defined bills are used when billing on job completion. The job is flagged as ready to be billed and a single bill is raised when the job is completed. They are particularly useful for small, simple jobs and bills where the work is performed quickly before being billed.
This topic shows how to set up the job, then how to draft and confirm the bill. It is assumed that the process of creating a job is known. It uses an Allocation type of Automatic Pro Rata when Closed. The Out of Scope Work and Automatic Options have not been used.
Setting the Job Details
-
Create a new job for a client and open the Job Details page.
-
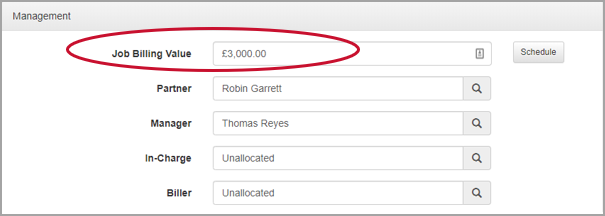
Select the Management panel and ensure that a Job Billing Value has been entered. This will be used as the amount to be billed when the bill is drafted. See Record/view job management information.
-
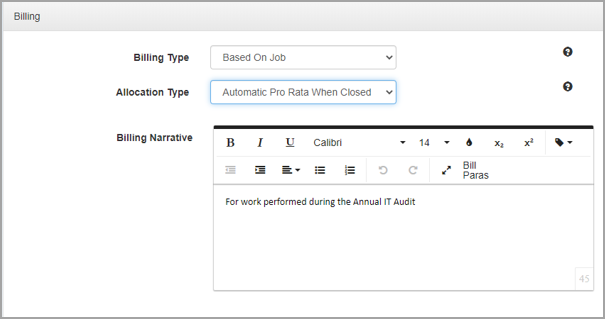
Select the Billing panel. Select the Billing Type from the list.
-
Based on Schedule - creates bills based on a schedule set within the Billing Schedule window (accessed by clicking the Billing Schedule button at the bottom of the Billing panel. Bills created using this type will be available from the Job Scheduled Billing portfolio.
-
Based on job - the job is billed when the job is marked as complete and there is no outstanding WIP against the job. Bills created using this type are available from the Billing Portfolio.
-
Manual - the job will be manually billed. This is the recommended option if you are unsure which option to choose. Jobs with this billing type will be displayed when creating a draft bill via the New Draft Bill option.
-
Recurring Bill - indicates that the job will be included as part of a recurring bill.
The Billing Type cannot be changed once a bill has been raised for the job.
The last bill raised on a job with a billing type of Based on Job or Based on Schedule, will always be a Final Bill. This will mean that the job is marked as Closed and any remaining WIP will be written off.
-
-
Select the required Allocation Type.
-
Automatic Pro Rata when Closed - automatically allocates the WIP on the job across all bills raised, on a pro rata basis. This ensures that all staff members are given the same recovery rate. If you are undecided on which option to use, we would recommend using this option.
-
Manual when Closed - the WIP will need to be manually allocated on this job when the job is marked as closed. These jobs will be available for allocation from the Billing Portfolio - Allocation view.
-
Automatic by bill - allocates the WIP automatically on the job to each bill as it is raised on a pro rata basis. All staff with WIP will have the same recovery rate within each bill but potentially each staff member could have a different recovery rate over the life of the job.
-
Automatic Recalculate Every Bill - allocates the WIP automatically on the job to all bills as each bill is raised on a pro rata basis. Recovery rates are recalculated as bills are raised. This is similar to Automatic Pro Rata when Closed but will give interim recovery rates whilst the job is active and bills are being raised. Once the job has been closed the actual recovery rates will be calculated.
-
Manual by Bill - this will automatically allocate the WIP within the bill on a pro rata basis but allows the user to override the default allocation.
For jobs with a job type of Based on Job, we suggest an allocation type of Automatic Pro Rata when Closed. This will allocate the WIP evenly across the staff members who have worked on the job, when the bill is confirmed, and the job is closed.
-
-
Enter the Billing Narrative. This is the narrative that will be entered onto the bill. Rich text formatting can be applied using the applicable icons. You can also add placeholders by click the Placeholders icon and selecting from the list.

-
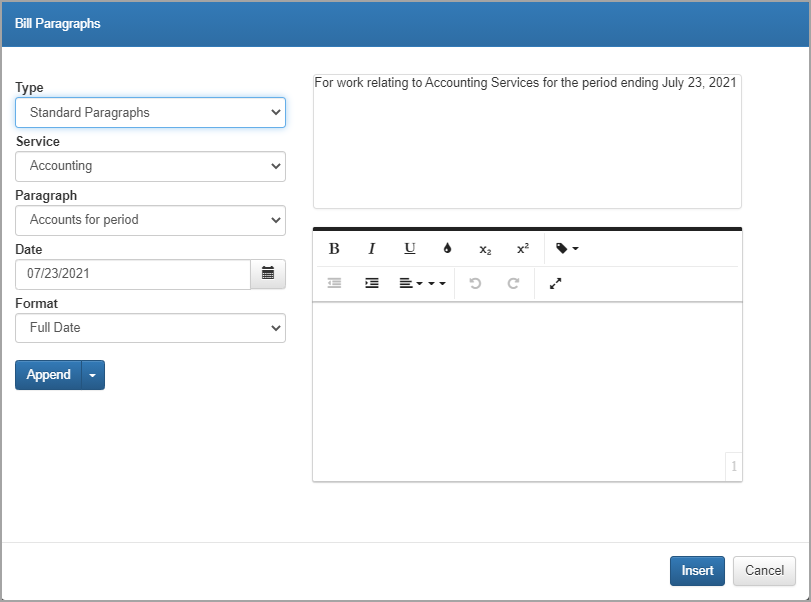
You can add paragraphs previously used for this client by clicking Bill Paras. From the Bill Paragraphs dialog, you can select from where you want to copy the paragraph using the Type, Service and Bill Lists. Once the required paragraph is displayed, use the Append button to determine whether the text should be inserted as a new line or paragraph. Click Insert to add the existing paragraph to the bill.
-
The Edit icon will only be displayed against jobs that have an allocation type of Manual When Closed and the billing setting of Allow WIP Allocation Recalculation has been selected. Selecting this icon will open the WIP Allocation page for the job and allow the user to recalculate any WIP calculations that may have been already been confirmed.
-
Billing Attention - Populates the Attention field on the Bill Header page. If nothing has been set here, the bill will pick up the details from the client's A/R collection information.
-
Default Address - By default, this will be checked and the client's default contact address or billing address will be used on any bills. Deselecting this checkbox will allow a linked address to be selected. Linked addresses are set up through the Others tab on the Client Details page.
-
Billing Email - Sets the To address for any single Jobs bills raised for the job. This will override any email address that is against the client's A/R collection information.
-
Billing Layout - Sets the default Bill Layout that will be used for the generated bill. This is only applicable on single job bills.
-
Target Recovery Rate % - This indicates the expected recovery rate as a percentage for the job. It is for information purposes only.
-
Automatically Email Bills to checkboxes - indicate whether a copy of the bill should be automatically emailed to the Partner, Manager, In-Charge, Biller or Credit Controller or DMS.
-
DMS (Document Management System) email address - This is set in the Billing Administration Global Settings page.
-
Out of Scope Work - Determines how any WIP marked as Out Of Scope will be included for jobs that have a billing type of Based on Job. The available options are:
-
Do Not Require Review - These bills can be drafted without requiring any review of the Out Of Scope WIP.
-
Require Review - Job based bills and the Final Task based bill cannot be drafted until all Out Of Scope work has been marked as reviewed.
-
-
-
Save any changes that have been made.
Drafting the Bill
Once the job has been marked as Complete it will be displayed in the Job Billing portfolio of the Billing Portfolio as available for billing. If the automatic actions were set to Draft, the bill will be automatically drafted when the job is marked as complete and the draft will appear in the Billing Portfolio under the Drafts As Owner portfolio.
-
Open the Billing portfolio and select Job Billing from the drop-down of available portfolios.

-
The completed job will be displayed. Click the Draft action to draft the bill. The bill will then be moved into the Drafts as Owner portfolio from where it can be edited and/or confirmed as required.
Confirming the Bill
-
Select Drafts as Owner from the portfolio options within the Billing portfolio. Ensure the Bill Partner/Manager has been set using the drop-down at the top of the portfolio. The drafted bill will be displayed.
-
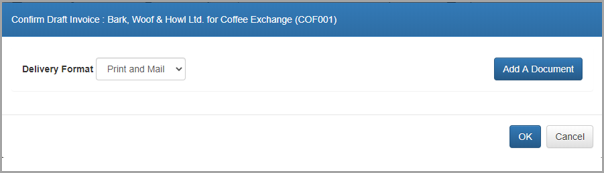
Click Actions to confirm the bill. The Confirm bill dialog will be displayed, with options to change the Delivery Format and the
ability to add attachments (permissions allowing). -
Click OK to confirm the bill.