Create client groups
Some clients may belong to a larger group. Such clients can be grouped to assist with reporting and bulk client administration.
Before being able to add clients to the group, you must firstly select (or add) the group company as a contact/client, then specify them as the group head.
Specify a contact as the head of a group
- Search for, then select the contact to be assigned as the head of the group.
-
Select Contact > Details from the menu, then select the Other tab.
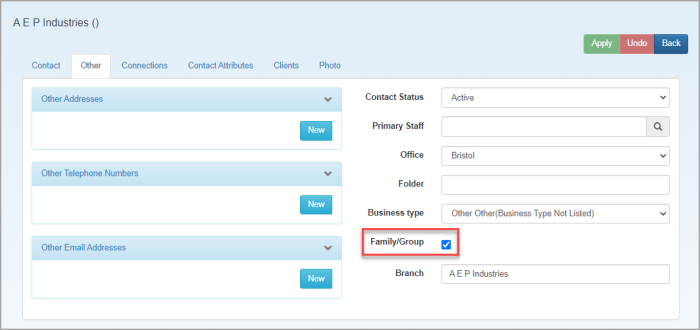
- Select Family/Group, then click Apply.
Specify a client as the head of a group
- Search for, then select the contact to be assigned as the head of the group.
-
Select Client > Details from the menu, then select the A/R/Collectiontab.
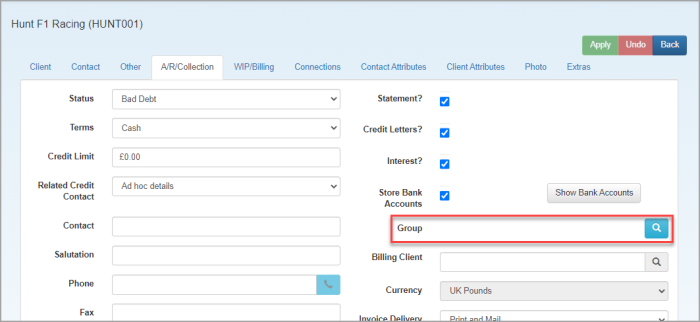
- Click the magnifying glass to open the Contact Search window , which is set by default to shown only contact groups. Select from the Organization's Contact Type list.
-
Search for, then select the required contact.
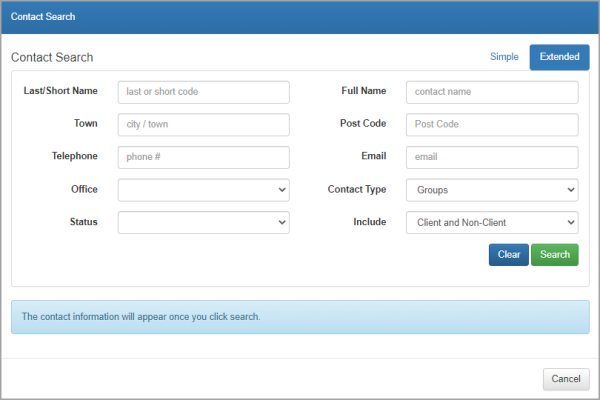
If the required contact can't be found, change the Contact Type to All Contacts.
- The newly selected group is displayed. Click Apply to save the changes. Repeat this process for any other clients to be added to this group.
Creating the Group Header where the Group Header is a Client
-
Search for and select the Client who is to be the group header.
-
Open the A/R/Collection page/tab within the Client menu.
-
Click the Binoculars next to the Group field.
-
Change the Contact type drop-down selection to All Contacts.
-
Search for and select the client who is to be the Group Header.
-
The Group field will now show the Group Header with a red cross next to it. This indicates that the client is now part of the selected group.
-
Click Apply to save the changes that have been made.
This will create the group header. The next stage is to add clients into the group.
Adding Clients to a Group
-
Search for and select the client that is to be added to a group.
-
Open the A/R/Collection page/tab within the client menu.
-
Click the Binoculars next to the Group field.
-
Search for and select the Group Header. (The Contact Type is set to show Groups by default. If the Client/contact who is to be the group header can’t be found, change the Contact Type to show All Contacts.)
-
The Group field will now show the Group Header with a red cross next to it. This indicates that the client is now part of the selected group.
-
Click Apply to save the changes that have been made.
-
Repeat the process for all clients that need to be added to the group.
-
Using client groups will activate a group level to some portfolios. All non grouped clients will then be found under a special group call ‘ZZ Non Grouped Clients’.