Quick Receipt Batch
Requires the relevant User Privilege. The option may be unavailable in your organisation's implementation of AR.
To create a Quick Receipt Batch:
-
In the main toolbar, select New / Quick Batch.
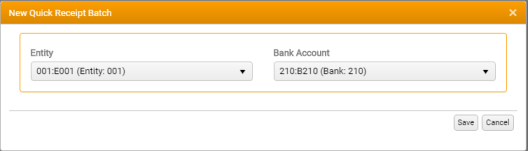
This displays the New Quick Receipt Batch window.
-
Enter the basic details of the new Quick Receipt Batch.
All inputs are mandatory, unless stated otherwise.
All receipts posted in the same Batch will use the same Bank Account, Currency, Entity, Posting Date and Batch Date.
-
Entity - Select the Batch Entity.
Defaults to the last used Entity for the Batch Type. If there is no last used Entity or the last used is invalid then the default Entity is selected. If the default Entity is not in the list then the first item in the list is selected.
The list of Entities available for selection is restricted by User Privilege. If only one valid Entity is available it is selected by default and the control is inactive (read only).
-
Bank Account - Select the relevant bank account for the Batch Entity.
The list of accounts available for selection is dependent on the Entity you have selected.
-
Currency - Select the currency in which the Batch will be processed.
If only one valid currency is available it is selected by default and the control is inactive (read only).
-
-
To post the Quick Receipt Batch, click Save.
Your changes are validated automatically.
The Batches tab (Home Page) is updated automatically, with the new Quick Receipt Batch added to the top of the list, and the Batch tab is updated to display to display its details: See Processing Batches (The Batch Tab).