Merge List
The Merge List is populated via the Client List, by clicking the Add all Client Invoices to Mail List right-click menu option on an individual Client row. (For details, see Add Items to Mail Merge.)
The Merge List can be cleared via the toolbar, by clicking the Mail Merge drop-down arrow to access the Clear Mail Merge menu option.
When you first access Credit Control, the Merge List is seen only as a narrow vertical tab to the right of the screen.
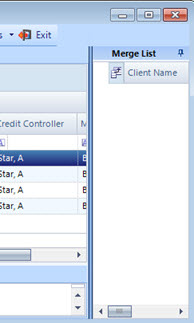
To expand the Merge List, click the 'drawing pin' icon![]() in its header. The Merge List frame then expands to the left, fully revealing the grid view.
in its header. The Merge List frame then expands to the left, fully revealing the grid view.
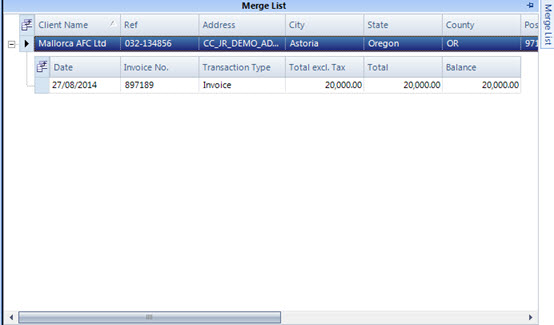
To re-size the Merge List region, simply drag its left-hand border left or right.
The 'drawing pin' icon in the Merge List header can be used to pin the Merge List open. When it is pinned open, the drawing pin has a vertical orientation; when it is not, the drawing pin has a horizontal orientation.
When unpinned, the Merge List expands automatically whenever the mouse passes over its tab, and collapse automatically whenever the mouse passes beyond its frame.
When the Merge List is pinned open, it can be closed simply by clicking within the Client List.
Field Chooser
You can customise the display of columns in the Merge List to focus on contact data, for example by selecting the FirstName, SecondName columns and/or Salutation columns. Those fields can then be mapped in standard Microsoft Word document templates.
Columns are de/selected using the Field Chooser.
To display the Merge List Field Chooser, click the Field Chooser icon ![]() to the left of the column header row.
to the left of the column header row.
Start Mail Merge
Before initiating a Mail Merge, you are advised to save and close any currently open Word documents in order to avoid conflicts.
To start Mail Merge, having added all of the relevant transactions to the Merge List, click the Mail Merge ![]() button on the toolbar to invoke the Mail Merge wizard.
button on the toolbar to invoke the Mail Merge wizard.